Why Turning BSD into a Router Is a Smart Move
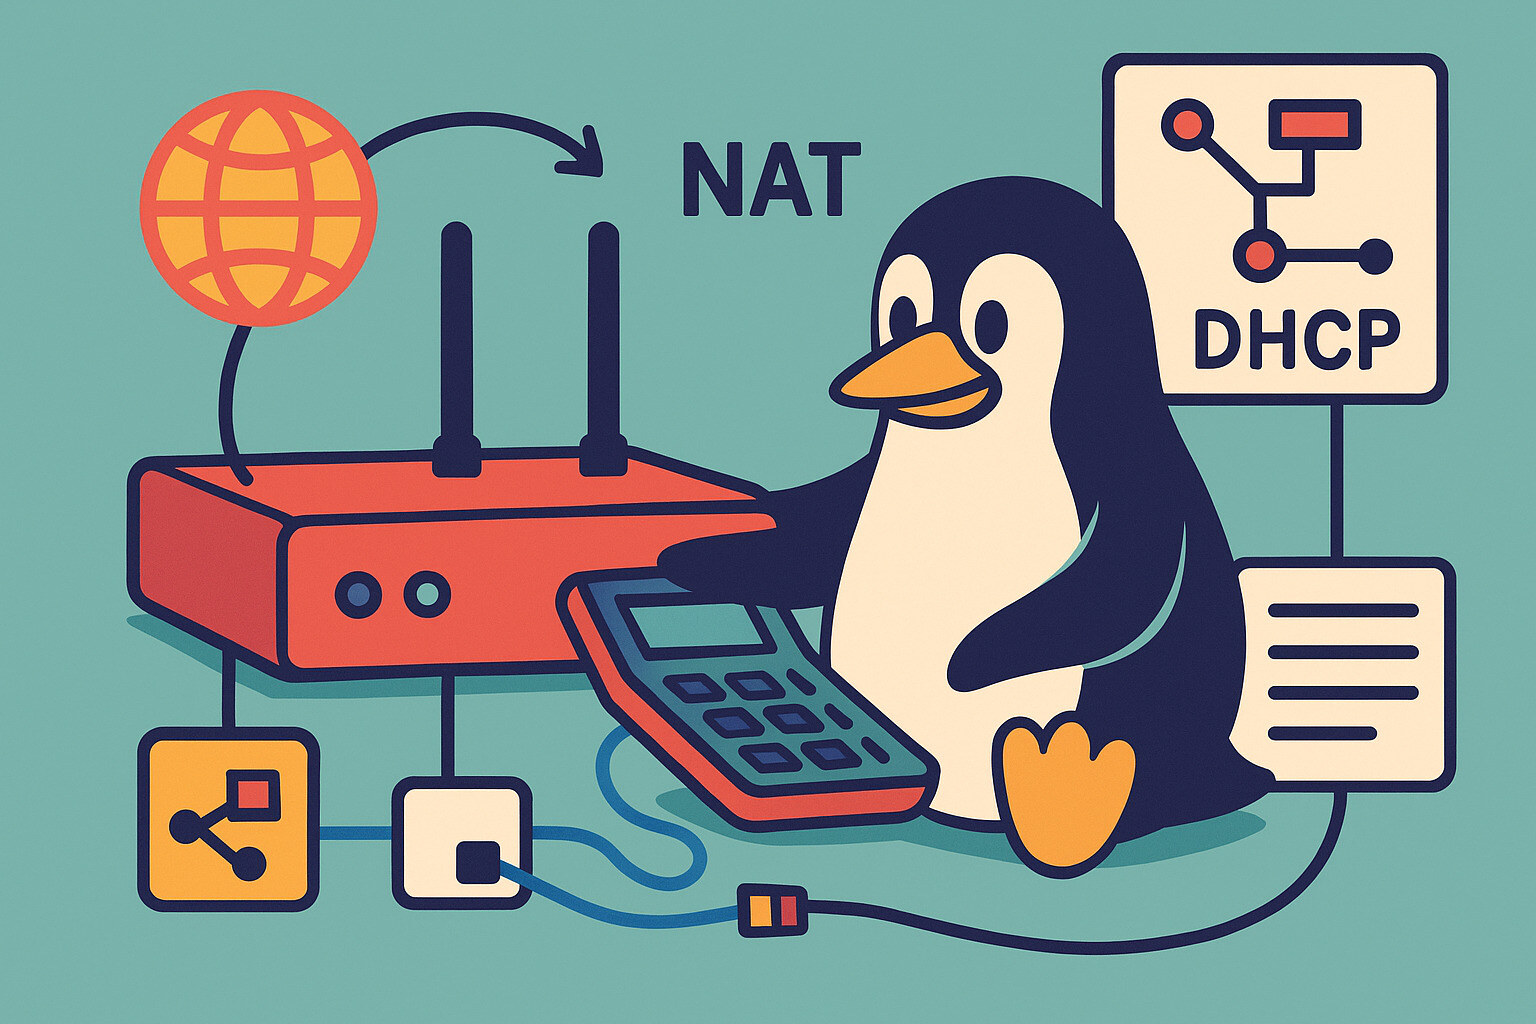
Using BSD as a router lets users control exactly how traffic moves through their network. Setting Up BSD as a Router with NAT and DHCP turns a spare machine and a few network cards into a fast, dependable routing system. For small offices, labs, or home networks, this approach offers custom rules, detailed logging, and performance tuning—features that typical consumer routers rarely provide.
BSD delivers strong stability and security, which makes it an excellent choice for handling NAT (Network Address Translation) and DHCP (Dynamic Host Configuration Protocol). With proper configuration, it can efficiently assign IP addresses, route incoming and outgoing traffic, and manage multiple devices without slowing down or failing under load.
As your network grows, you can expand a BSD-based router with advanced features. Adding VPNs, firewalls, or bandwidth shaping is straightforward, and the same proven tools that keep BSD reliable on servers work just as well in a routing role. This makes BSD a practical solution for anyone who wants flexibility, transparency, and full control over network traffic.
Picking the Right BSD Flavor for the Job
Not all BSD systems work the same way, and selecting the right one simplifies the setup process. When Setting Up BSD as a Router with NAT and DHCP, choosing the appropriate BSD flavor can make configuration smoother and more efficient. FreeBSD often serves as the preferred choice for routing because it supports modern drivers and offers extensive documentation. OpenBSD appeals to users who prioritize security, while NetBSD provides excellent flexibility and runs efficiently on older machines.
For routing tasks, FreeBSD delivers strong performance thanks to its easy-to-configure pf firewall, built-in DHCP server support, and plenty of community examples. It handles NAT and routing with clean syntax and rarely requires additional tools unless you need advanced features. OpenBSD also uses pf and earns its reputation for maintaining strict security by default, which makes it ideal for users who need maximum protection.
Each system has clear strengths. For example, a business owner who needs high performance may prefer FreeBSD, while a security-focused user might choose OpenBSD. Both systems work well as routers, and you can set them up quickly using a standard ISO, a second network interface, and a few well-structured configuration files.
Setting Up the Hardware and Network Interfaces
Before diving into software, the hardware setup needs to be clear. A BSD router needs at least two network interfaces—one for the internal network and one for the outside connection. These can be built-in Ethernet ports or USB adapters, as long as BSD supports them.
After you install BSD, the system assigns interface labels such as em0, re0, or ue0. Run ifconfig to confirm which device connects to the internet and which one serves the local network. Many users also label their ports with tape, making it easier to identify them during maintenance and reducing the chance of mistakes.
Having reliable hardware makes a big difference. Using a gigabit switch, quality Ethernet cables, and a machine with enough processing power keeps network performance smooth. A router doesn’t need to be fancy, but stable hardware makes the software easier to manage.
Configuring the Network Interfaces in rc.conf
BSD systems use a configuration file called rc.conf to manage services and interfaces at startup. Setting the correct IPs here ensures the router behaves the same every time it boots. One interface gets a public IP (from a modem or ISP), while the other uses a private range like 192.168.1.1.
For example, FreeBSD users might add lines like ifconfig_em0=”DHCP” for the external port and ifconfig_em1=”inet 192.168.1.1 netmask 255.255.255.0″ for the internal one. These entries tell the system how to bring up each interface during boot.
Getting this part right lays the groundwork for future services like NAT and DHCP. After you assign IPs and confirm that the interfaces respond, you can move to the next step easily. Run a simple ping test from both ends to verify that the devices communicate as expected.
Enabling Packet Forwarding in sysctl.conf
Routing between interfaces only works if BSD is told to allow it. By default, BSD won’t pass packets between network cards. That’s a safety feature, but it’s easy to change. Packet forwarding must be enabled in the sysctl.conf file.
Adding net.inet.ip.forwarding=1 to that file and running sysctl net.inet.ip.forwarding=1 manually activates forwarding. This change lets the system move packets from the internal network to the internet and back, as long as routing and NAT are set correctly.
This step may seem small, but it’s key. Without packet forwarding, the router acts like two separate machines. Once this change is made, the system behaves like a bridge, sending data from one side to the other while keeping the networks distinct.
Setting Up NAT with pf for Internet Sharing
With interfaces working and forwarding enabled, the next step is setting up NAT. BSD uses the pf firewall to do this. NAT hides internal IP addresses by making them look like one address on the public side, which is how most home routers work.
The configuration goes into /etc/pf.conf. A simple setup might include rules like nat on em0 from 192.168.1.0/24 to any -> (em0) and pass rules to allow traffic. This tells BSD to translate outgoing traffic from the internal network and to let responses come back through.
After saving the configuration, running pfctl -f /etc/pf.conf loads the rules, and pfctl -e enables the firewall. Watching network traffic afterward with tools like tcpdump or iftop can confirm that NAT is working. Once traffic flows correctly, devices on the internal network should reach the internet with no trouble.
Running a DHCP Server with the Right Range
To keep things simple for other devices, a DHCP server hands out IP addresses automatically. FreeBSD includes dhcpd, and its configuration lives in /usr/local/etc/dhcpd.conf. This file tells the server what range to assign, how long leases last, and where to send DNS info.
A typical setup might serve addresses from 192.168.1.100 to 192.168.1.200 and use the router itself as the gateway. The file would include lines like option routers 192.168.1.1; and option domain-name-servers 8.8.8.8; to guide connected devices.
Once configured, the service can be enabled in rc.conf with a line like dhcpd_enable=”YES” and then started using service dhcpd start. From there, devices that join the network will get their IPs and gateway settings automatically. This keeps the network smooth for phones, laptops, and smart devices.
Adding Firewall Rules to Control Access
Besides NAT, the pf firewall can also protect the network by blocking or allowing specific traffic. Rules can restrict access to ports, block outside scans, or prevent internal devices from reaching certain sites. A careful rule set makes the BSD router more secure and easier to manage.
For example, a rule might block all inbound traffic by default and only allow established connections. Another rule could limit access to SSH or web services to certain IPs. These controls keep intruders out while still letting legitimate users work freely.
Firewall rules should be tested carefully to avoid locking out access or breaking internet sharing. Starting with basic pass rules and gradually adding blocks makes it easier to find mistakes. Logging rules can also help show what traffic is being denied and why.
Testing the Setup and Troubleshooting Issues
After everything is configured, it’s time to test. A good first check is connecting a device to the internal network and trying to browse the web. If DHCP works, the device should get an IP address. If NAT works, web pages should load without delay.
If something fails, checking logs is the fastest way to figure it out. Files in /var/log often include helpful messages from dhcpd or pf. The tcpdump command can trace packets to show where they’re going—or not going—during troubleshooting.
It helps to work through problems one piece at a time. If the internet works on BSD but not on a laptop, the issue might be NAT. If IPs aren’t handed out, the problem could be DHCP. Taking a steady approach turns even tricky errors into manageable fixes.
A Steady Setup for Custom Networking Needs
BSD makes a reliable router when configured with NAT and DHCP. It allows users to shape their network to fit specific needs, whether that means better performance, extra control, or just the satisfaction of building something stable. With a few configuration files and careful testing, a simple machine becomes the hub of a smooth network.
This kind of setup works well in homes, labs, or classrooms. It’s flexible, adaptable, and well-documented. As needs grow, the router can support features like DNS, VPN, or VLANs—all powered by BSD’s thoughtful design and strong community support.
Getting started might take some time, but once everything is running, the system quietly does its job day after day. Setting Up BSD as a Router with NAT and DHCP gives users the tools to go beyond the basics, creating a dependable, customizable network solution that just works. That steady, dependable behavior is why so many people turn to BSD when they need a router that does more than the basics.


No Responses